
Simple guide for a thriving veggie patch
Mr Bokashi • July 1, 2020
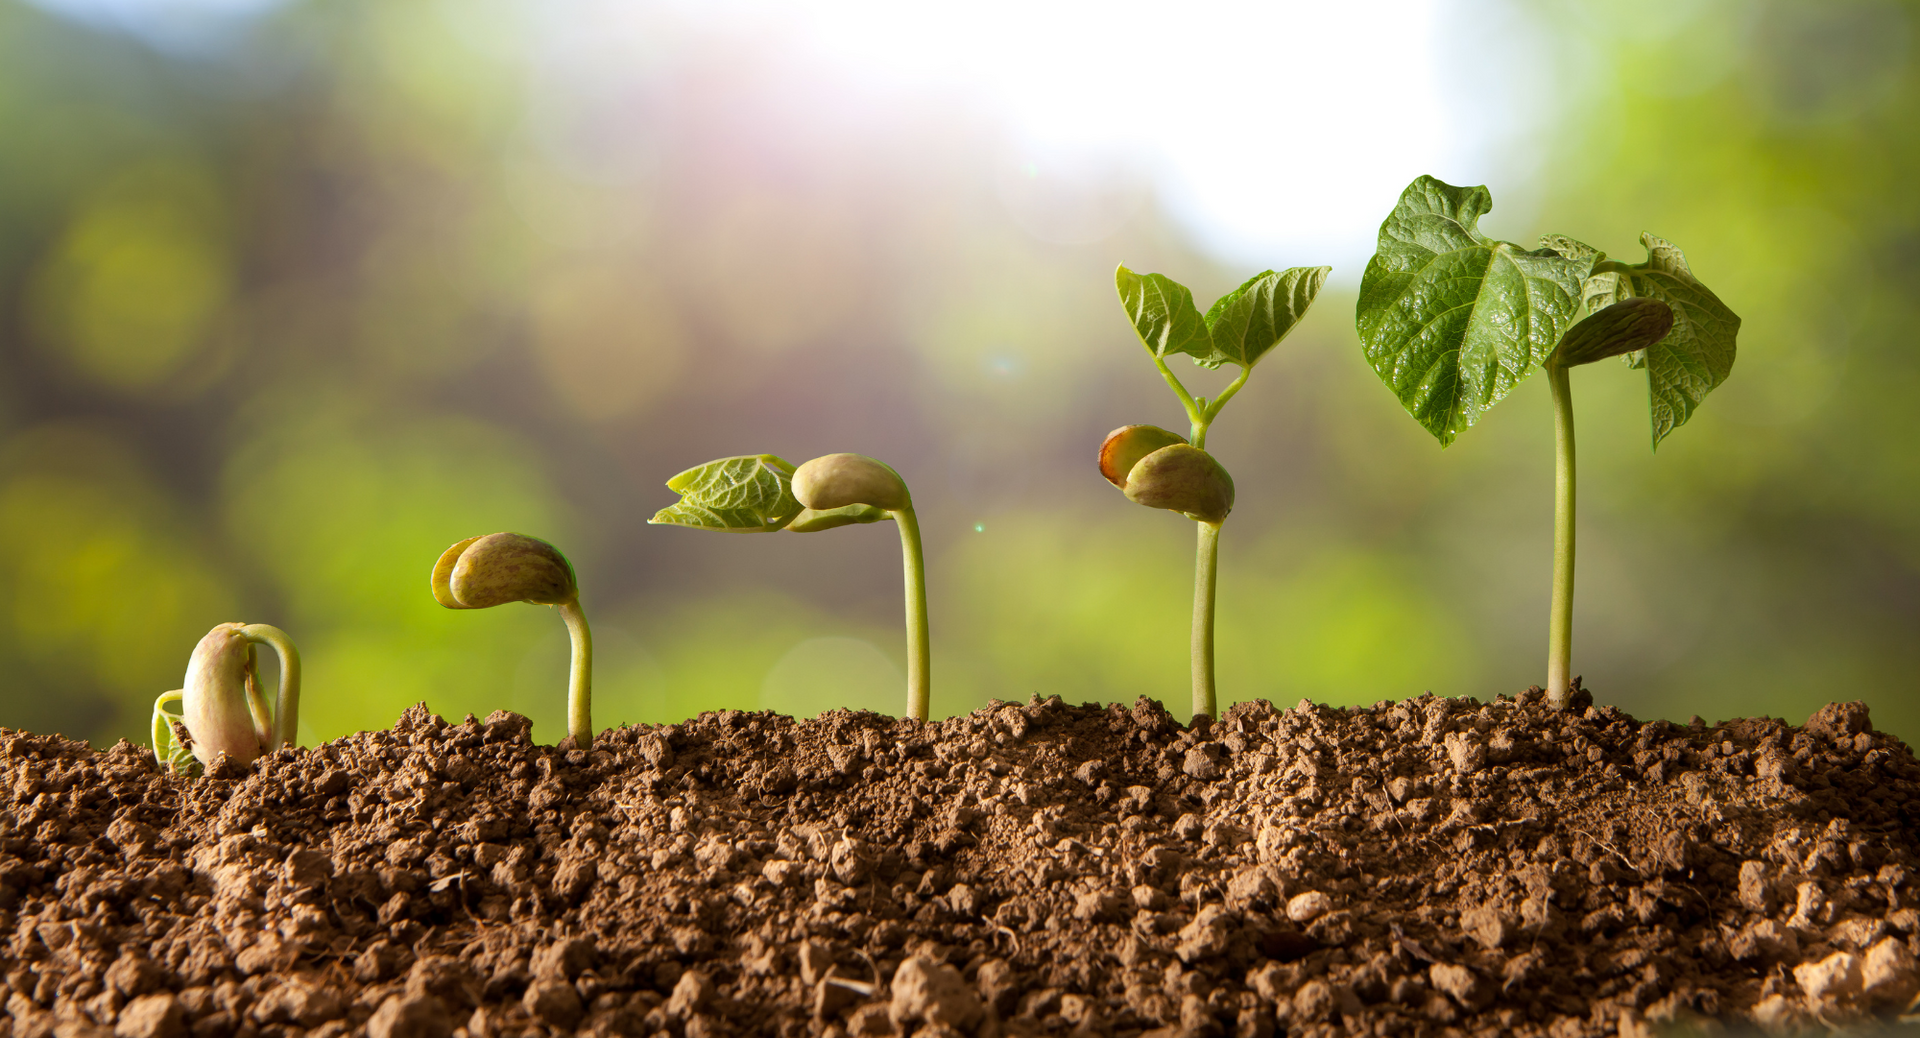
We have seen a renewed interest in gardening over the past few months, especially among inexperienced green thumbs who are keen to learn how to grow their own vegetables. It is incredibly satisfying to nurture your vegetables as they grow and develop throughout their lifecycle.
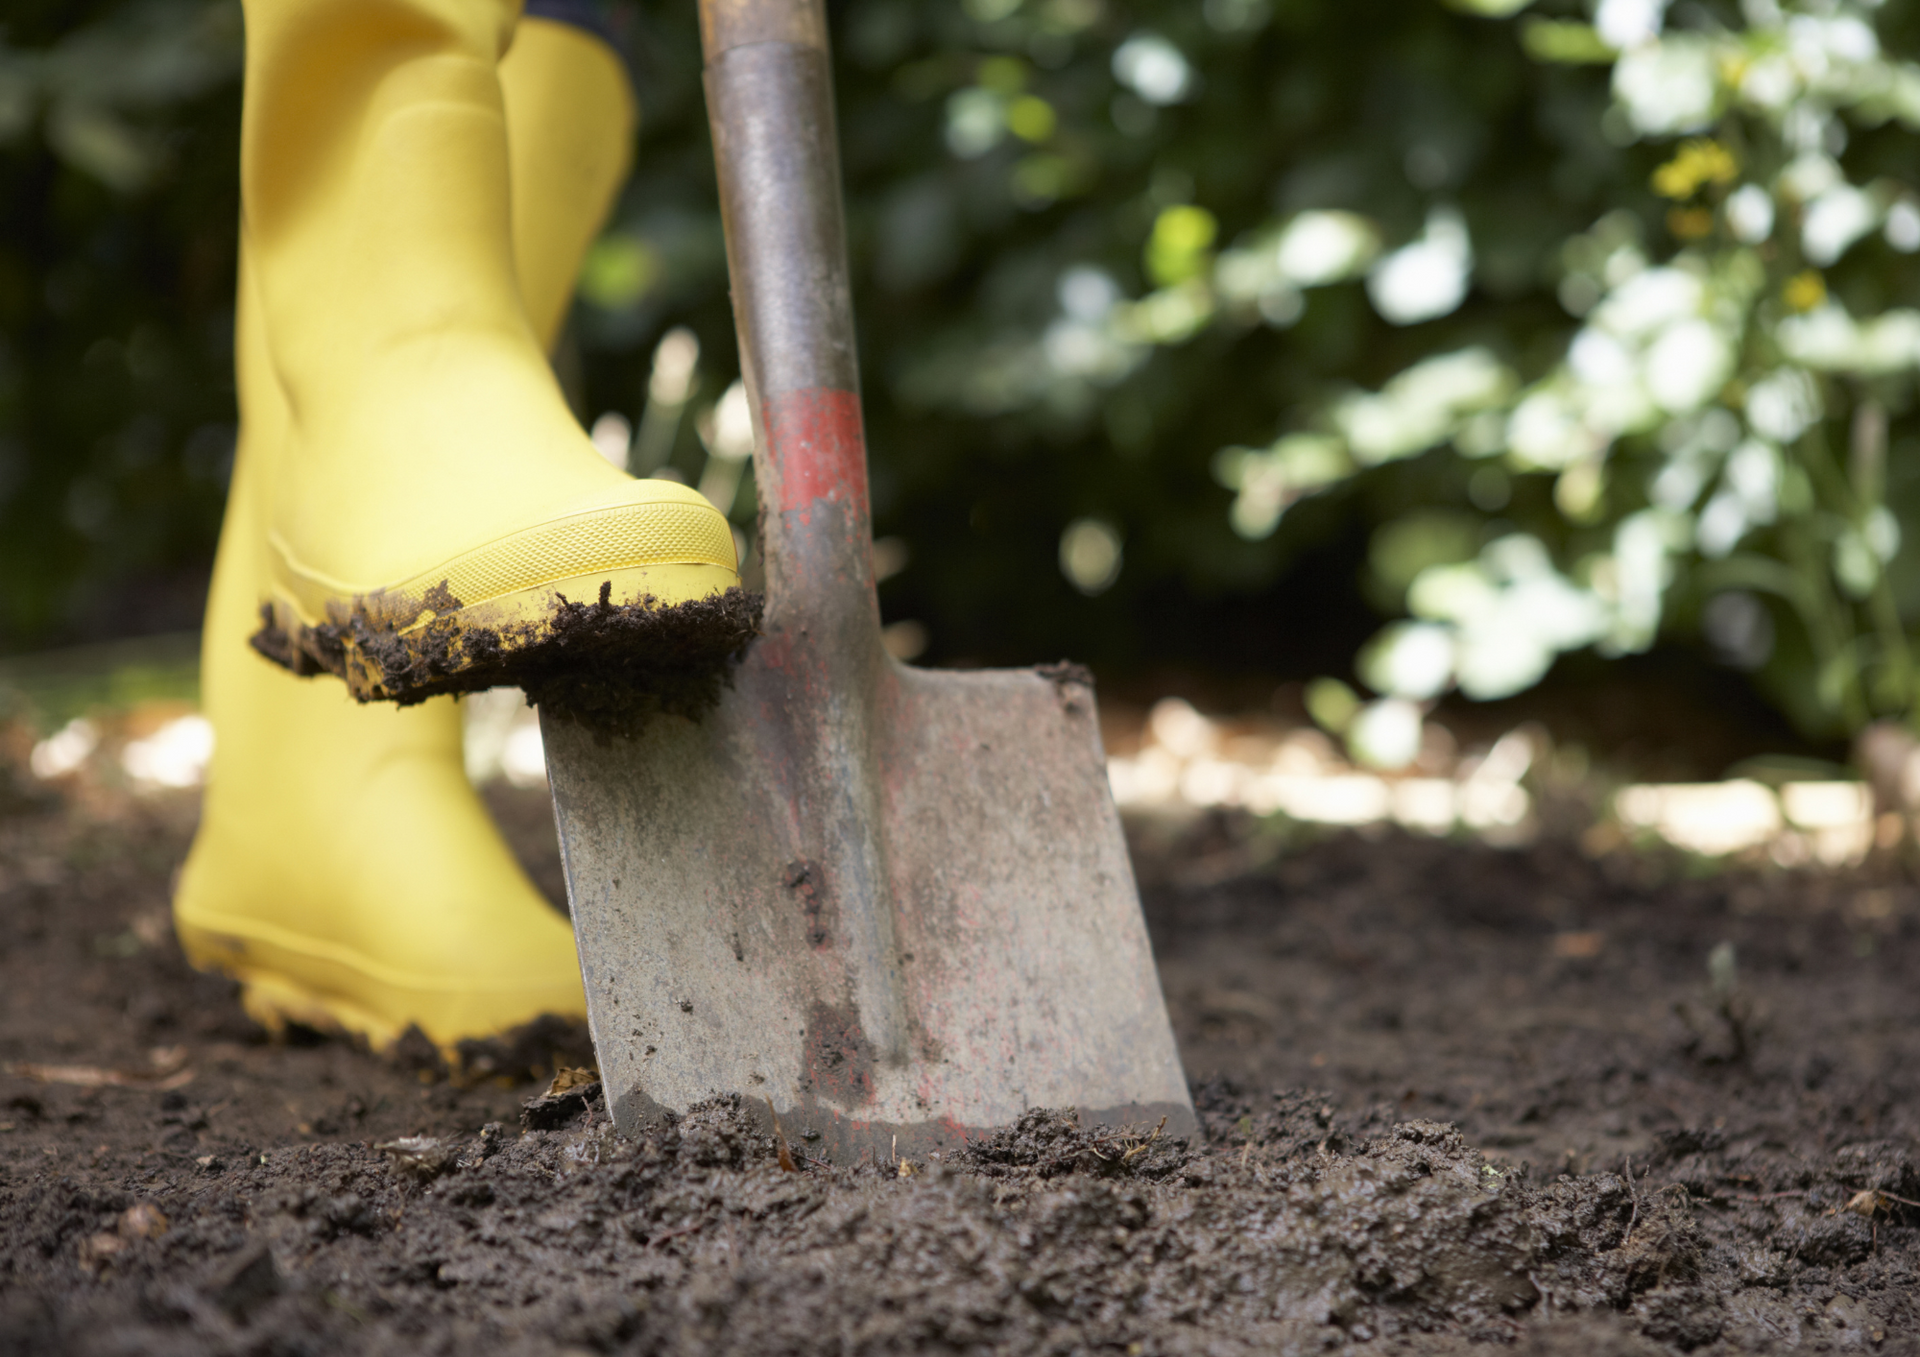
To harvest a healthy crop of vegetables you need to start with a strong foundation which is all about proper preparation. Like anything in life, investing time and effort in a bit of groundwork pays great dividends later and helps to create a healthy veggie patch.
Before getting started, consider the best location for your vegetable plot. Taking the time to think about the best spot can make all the difference between a flourishing vegetable garden and one that produces a poor harvest.
Consider sunlight hours – the best spots have sunlight for at least six hours per day as most vegetables prefer direct sunlight.
Avoid exposed windy areas and if this is unavoidable then add protection by putting up some wind cloth to diminish the impact of strong wind on your vegetables. Add stakes for additional support and protection from wind.
Remember to pick a location that is easy for you access so you get regular reminders to check on your garden.
Don’t forget to order a couple of bags of Earth Zing
to boost the beneficial microbes in your soil which will provide your veggie plants with the best start to life. This completely natural product also helps your soil retain optimum water levels which is essential for healthy plant growth.
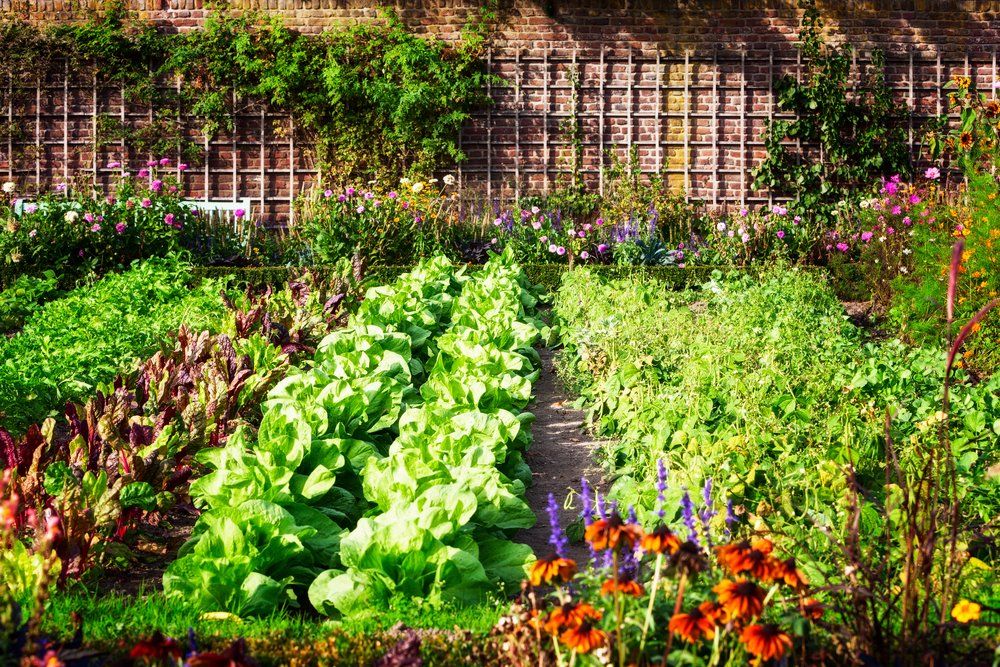
Follow the steps below to create a flourishing vege garden:
Preparing your vege patch
Preparing your vege patch
- It’s likely that your vege garden to have a green cover of winter weeds. To remove this weed cover naturally you can:
- Pour boiling water over the weeds.
- Cover the weeds with a heavy-duty black plastic cover and fasten it down at the corners. The black material will attract the sun and basically cook the weeds below.
- Wait about two weeks to ensure the weeds are dead then double dig the area to incorporate the surface material below the soil. This brings a fresh new layer of soil to the top of your garden.
Apply calcium
Apply a generous amount of good quality lime (approximately 2-3 handfuls per m2) over the topsoil. If you have clay soil, then add a generous amount of gypsum. This helps to break down the clay while adding mineral calcium and sulphur.
Add compost and Earth Zing
Compost is the key ingredient for healthy soil. I recommend adding large amounts of good quality compost to your garden each year. Add around 5-10kg/m2 for the best results. By adding compost annually, you will maintain the soil structure while boosting nutrient levels and building soil humus.
Add Earth Zing
at 1-2 handfuls per m2 to help break down the compost. Earth Zing also boosts beneficial microbes and adds trace elements to your soil.
Once everything is incorporated into the soil you are ready for the next steps.
Add nutrients and minerals
When we harvest food from our garden, nutrients are removed from the soil which need to be replaced to maintain quality and yields. I like to use seaweed powder and when transplanting vegetables or potatoes I add some of our Guano
(1-2 teaspoons) into each hole prior to planting to help with plant root development. Guano is a natural soft phosphate fertiliser made from bird droppings which is completely organic.
Once my garden is established, I like to add 1-2 applications of liquid fish spray to boost growth as the plants start to take off.
Feel free to contact us if you have any questions about starting your first vege garden. We’re always happy to help our fellow gardeners.
Happy gardening,
Mr Bokashi

Avoid the overwhelm and keep your vegetable garden steadily giving, all season long.

Septic Tanks require ongoing maintenance to keep the delicate ecosystem balanced and healthy. Zing Bokashi's Restart has been developed to keep your system clean, odour-free, and functioning well. Containing live cultures, this product breaks down organic waste, sludge, and algae in outlet pipes.
While any form of composting is a win for the planet, bokashi composting stands out as a faster, cleaner, and more nutrient-efficient alternative to simply burying food scraps. Read on to find out why we believe bokashi beats simply digging a hole and tossing food scraps in.

Winter is an important time in the gardening calendar, as what you do during this time can dictate how your garden performs in the next growing season. One of the more important principals of regenerative gardening is to ‘keep the ground covered ‘ while the second principal is to 'keep roots in the ground.’ We are probably too late to get roots in the ground at this time, however, let's briefly cover this point. 'Keep roots in the ground' The most effective way to achieve this is by green or cover cropping. This is simply a matter of growing a green manure crop in any bare soil. These should have been sown out in April or May at the latest. The most common green crop is either lupins or mustard. I prefer to use rye corn because it produces dense and bulky roots, in addition to a good amount of green leaf. The many advantages of green manuring are: The ground is covered and protected against wind, rain, and sun. Weed growth is inhibited or limited. The green manure's plant roots loosen and aerate the soil. The plant roots foster both humus growth and the soil crumb structure Plant roots provide an important food source for soil bacteria and other soil-living organisms. Any green manure crops should be cut down before flowering and while the stalks are still soft. Often, we forget about our garden until after we have removed our final summer and autumn harvest. Consequently, we have overlooked the need to ‘keep roots in the ground’ and thus have to revert to the second best method.
We are moving into summer, and I trust your garden is thriving. However, summer also means increasing temperatures and less rainfall which can lead to issues in the garden. The main issue is soil moisture loss which must be replaced by irrigation or watering. Water your garden either early in the morning or in the evening when temperatures are not so harsh. Watering in the heat of the day can cause leaf damage plus loss of water from evaporation. To reduce evaporation, you can also mulch around plants using good quality compost or pea straw. It’s best to ‘deep water’ once or twice a week rather than a little every day. Deep watering encourages plant roots to grow more deeply so they are better able to survive the ravages of summer heat. Increasing temperatures and regular watering creates a nice environment within the plant foliage, which provides ideal conditions for plant disease and insect infestations.
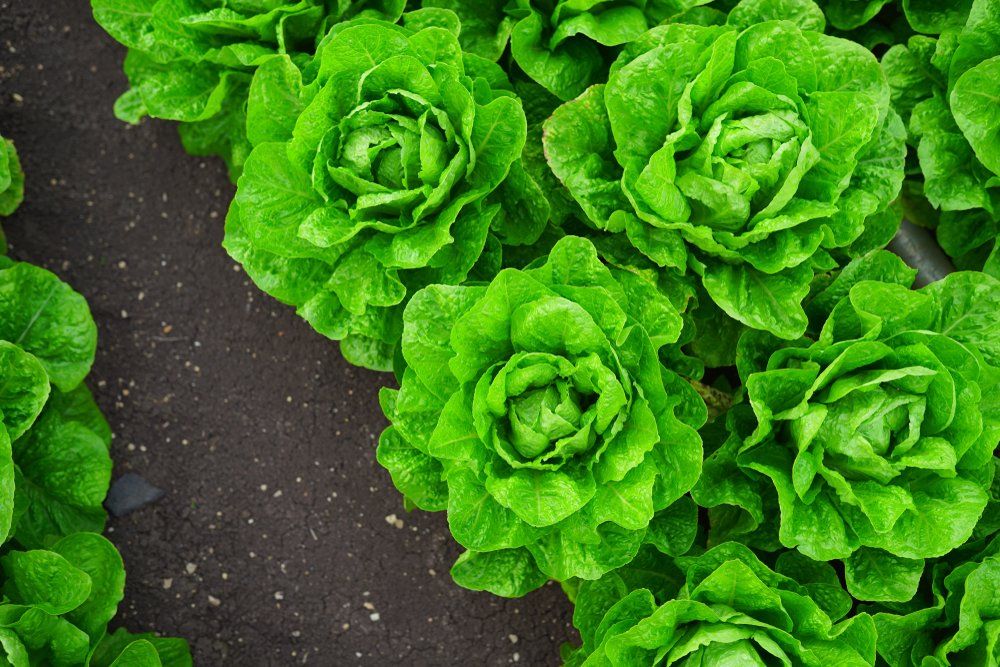
I am sure that every gardener has experienced the unpleasant taste of bitter lettuce leaves during their gardening journey. Lettuce is one of the easiest plants to grow, however it also tends to change from sweet and juicy to bitter quickly. So, how can we prevent this and grow fresh tasty lettuce for our summer salads? Interestingly, lettuces are cool climate plants although we tend to grow them during the warmer months of the years. Heat is the first culprit when it comes to bitterness as temperature change causes the lettuce to want to start to seed which is characterised by a plant with hard inner leaves. To avoid heat stress plant your lettuces in a semi-shaded spot in your garden. If you live in a hotter area of New Zealand, you may wish to consider planting your lettuces in the cooler months of the year such as spring or autumn and avoid mid-summer.
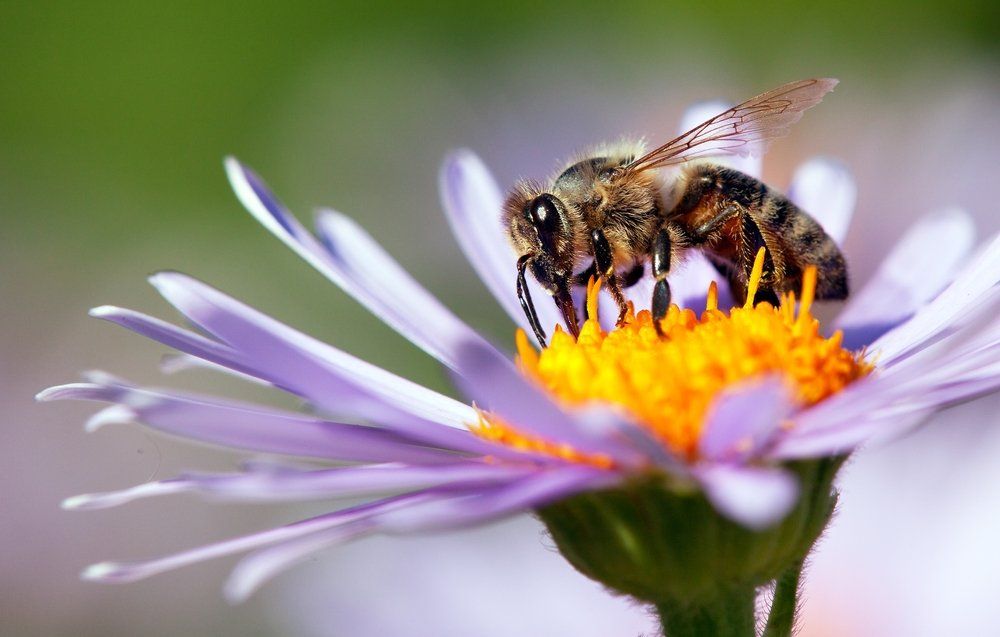
Last month was Bee Aware Month 2021 so I thought it was the perfect opportunity to discuss how we can supply bees with an ongoing supply of pollen and nectar throughout the year by planting bee-friendly trees and plants in our gardens. Bees are incredible insects; however, they are under threat all over the world. Bees and other insects play a vital role by helping to pollinate our food. When bees forage for nectar and pollen they pollinate each flower that they visit which increases crop yield. Without bees many food crops that need pollination by insects could not be grown on a scale large enough to feed us. How then can you help these important insects to thrive? Simply plant something to create a bee friendly paradise in your garden. The easiest thing to grow are herbs. They do well in small pots with a bit of sun. Try something you can use in cooking such as basil, borage, rosemary, or thyme or any other herb of your choice. Just remember to let some flower as you want to attract bees to your herb garden. Anything that flowers will be perfect for all sorts of pollination. Try to have a couple of the plants flowering in your garden all year – rosemary is particularly good as it flowers for longer periods of the year when other herbs remain dormant. Add a little Earth Zing to the soil before planting your herbs to give them the best start.
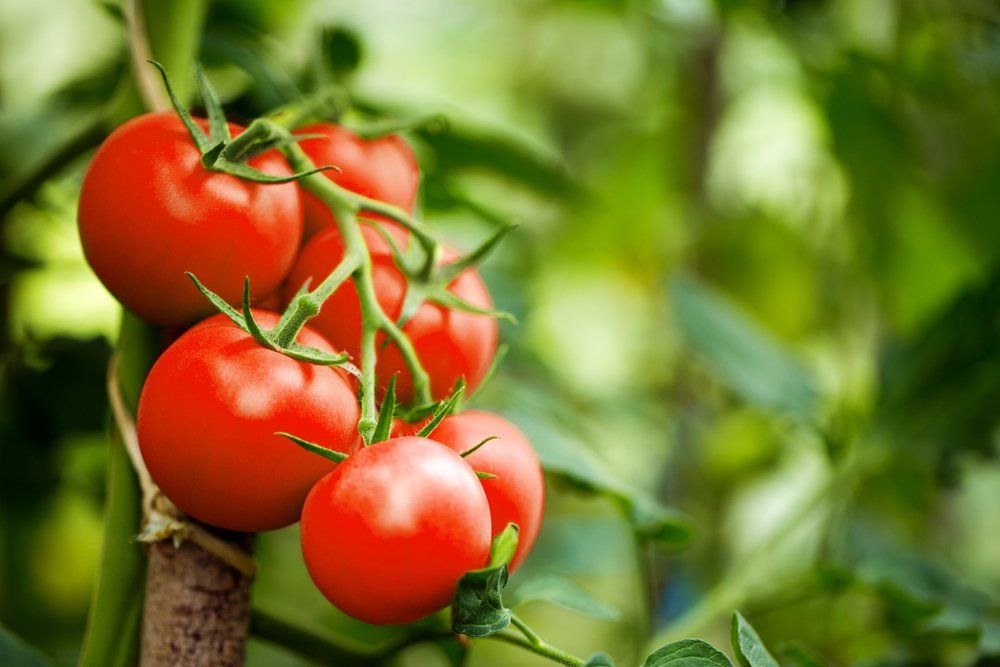
Tomatoes are one of the most popular vegetables to grow and nothing beats eating fresh juicy tomatoes straight from your own garden. Growing tomatoes takes a bit of effort but the rewards of biting into a delicious home-grown tomato that’s full of flavour and vitamins are well worth it. First steps To create the best quality tomatoes, you need good, healthy, fertile soil as the nutrients from the soil will fuel the growth of your tomato crop. Add good quality compost to your growing area to ensure your tomatoes have the best start to life. The compost created from your Zing Bokashi composting kit provides plenty of nutrients. As a guide, use one bucket for every two tomato plants. Four to six plants will yield a good harvest for you and your family. I prepared a spot for my tomatoes a little while ago and have already planted my first plants. Now is a great time to get planting, whether you are planting outdoors or in a glasshouse. If you haven't a glasshouse, then site selection becomes important. Tomatoes love a warm and sunny spot and well sheltered from prevailing winds.
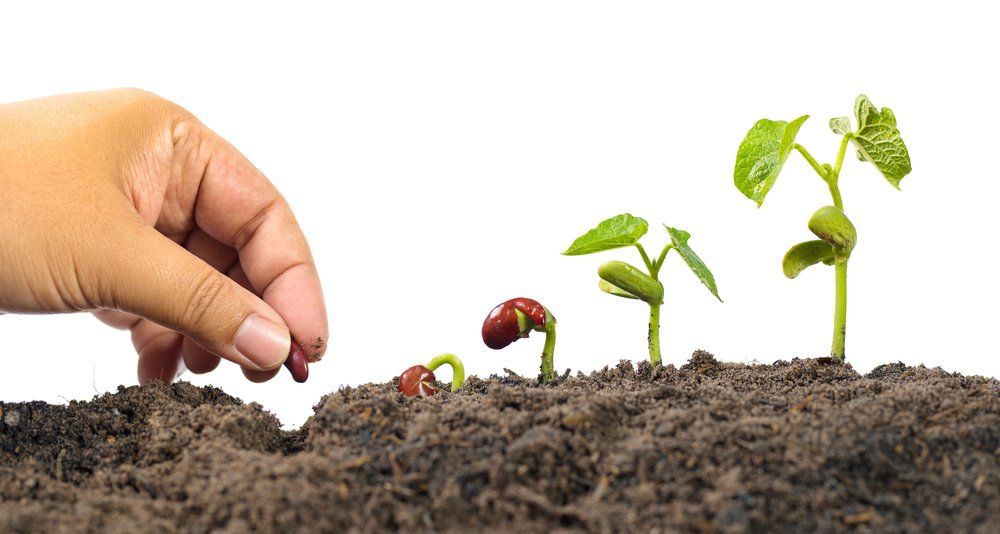
The days are growing longer and we’re experiencing warmer afternoons which means that spring is just around the corner. The arrival of spring means a new and fresh start to a new growing season for all avid and budding gardeners. In this blog, we’ll look at a few simple jobs we can do to give us a flying start on our spring gardens and how to get started on planting your potatoes, so you have lovely new potatoes ready to harvest for Christmas Day. Prepare your soil By now you should have turned in any green manure crops back into the soil. However, if you haven’t done this you can do it over the next few weeks. Due to the recent wet weather, I have delayed this chore because of overly wet soil. If your soil is still very wet, holding off won’t cause any issues as generally your soil will also be cold. The soil needs to be warm and free draining to break down the organic matter in the green cover or manure crop. It’s also time to boost the nutrients in your soil. I recommend sprinkling some agricultural lime and or Earth Zing over your soil. Add these products just prior to digging over the soil. Even if you had bare soil over winter, it’s still fine to add these products. Don’t add any other fertilizers or plant foods at the same time and take care not to spread any lime where you will plant your potatoes as this can lead to a skin defect called scab.

I need to wind the clock back to over 20 years ago when I developed our first Bokashi product (Compost Zing) to share the story of what makes our Bokashi so good. Starting in 1999, I spent over two years developing New Zealand’s first Bokashi product and was lucky enough to receive technical assistance from the late Dr Ravi Sangakkarra; a professor of agronomy in Switzerland and Sri Lanka. After Compost Zing went to market, Dr Sangakarra described Zing Bokashi’s Bokashi as the best Bokashi in the world. The word “Bokashi” doesn’t reveal much on its own as it’s a generic word meaning “fermented organic matter” and the ingredients contained in Bokashi products can range from low quality material through to the high-quality ingredients contained in our Zing Bokashi product. In my opinion, what makes Bokashi stand out is the use of locally produced high quality ingredients which are scientifically tested and proven to work. A good quality product needs to be technically sound and remain robust over time. That is why we spent plenty of time testing different materials and combinations when we were in the development phase of Compost Zing. Developing a product to meet these criteria took some time and it was a process of trial and error to develop our Bokashi product with many failures occurring along the way, however, those combinations which showed promise were lab and field tested until I was confident that we had a high-quality market-ready product.